

About three to five days before signing and closing your home’s buyers will return for a final walkthrough of your house. The purpose of this is to ensure that sellers have upheld are the terms they agreed to and make sure the home is still in peak condition. In this blog, we will go into detail about what you can do to make sure your home is ready for the final send-off.

How long does a walkthrough take?
It takes about an hour, but it depends on their list.
Should I be at the home?
It is a good idea to vacate the home for the final walkthrough but available to answer any questions.
What is the buyer looking for during the walkthrough?
- Completion of inspection items (if any).
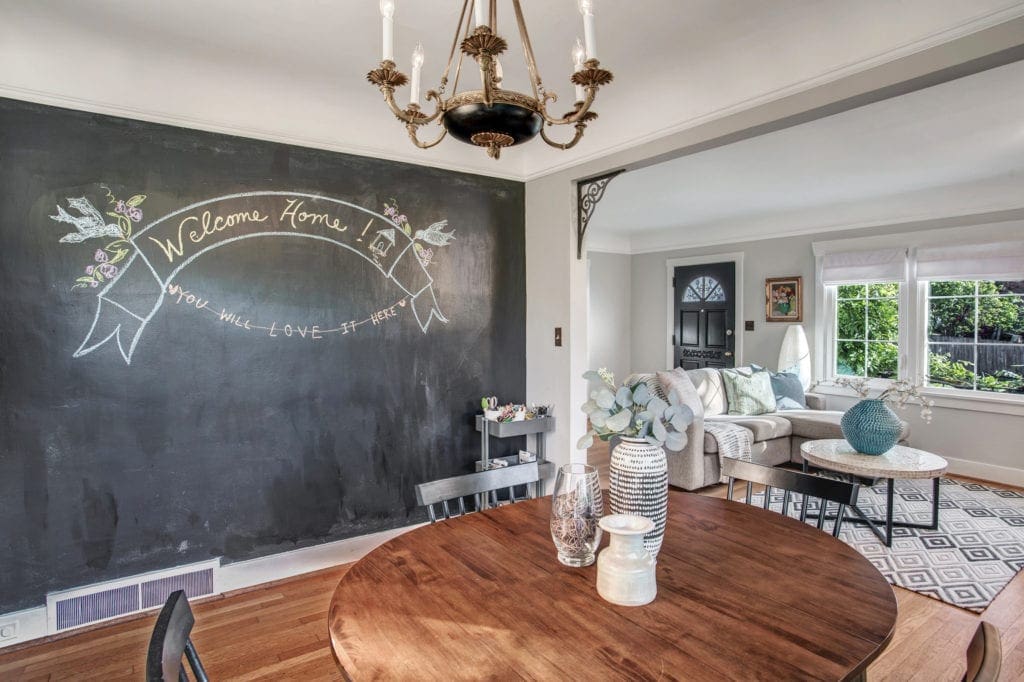
- Verifying that the home is still in the same condition as when they first purchased the home (is the hot water tank working, are appliances in good shape, are there any unexpected sewer issues, etc.).
- Measuring for furniture and other things.
- Showing off the home to their loved ones.
Now let’s go into the details of the prep work you should do for the walkthrough.
Seller Prep For the Final Walkthrough of Your Home
It’s rare for buyers to do a home inspection and say “We’ll take it!” without any conditions. Usually, there are small (or large) fixes to be made, negotiated with the seller. If you are the seller in this scenario, make sure you have an experienced agent negotiating on your behalf. Not only can they protect your investment, but they can also lay a strategy out to efficiently meet any repair demands.
And that brings us to the final walkthrough of a home: A buyer now sees the truly final product that they will be signing for.
Check That Inspection Items Are Completed
Earlier in the process your home was inspected by the buyers and their representatives. More than likely a few items were negotiated (if the home did not sell in multiple offers). If you negotiated to have repairs done before closing, those items will be top of their list. Ideally, you’ll have the work done by professionals who can provide receipts and warranties as proof. Make all of these documents available during the final walkthrough.
As listing agents, we are generally the ones to hand over these receipts to the buyers’ agent.
Check out our home inspection guide for sellers.
Make Sure That Everything Is In Good Working Order
If your appliances passed home inspection, there’s nothing to worry about, right? Well…
It’s always best to triple check everything before buyers do a final walkthrough of your home. You are still responsible for everything in the house until it closes. If fate has decided to put something on the fritz in the home stretch, it’s best that you find it first. Check appliances, heating, and plumbing for any glitches, clogs, etc.
Home Is Clean and Ready for the New Owners
Team Diva will help you organize the final clean for our home sellers. No matter how tidy you may be, we find a professional touch is necessary to make a home truly spotless before closing.
Grant Easy Access To All Mechanicals
The final walkthrough of your home is a less intense sort of a home inspection. Make sure your home’s buyer and their representative can easily access the hot water heater, electrical panel, and any other vital home systems.
Leave All of The Lights On
After you have done a trial walkthrough yourself and you take off, don’t be eco-friendly this once: Leave all the lights on. It’s aesthetically pleasing, and also a safety precaution. You don’t want people wandering into unfamiliar, dark spaces after all, especially if a light switch isn’t in the most obvious, accessible place for newcomers.
And that’s it!
It may be nerve-wracking, but fortunately, the final walkthrough of your home is not the most labor-intensive part of the home selling process. The hard work is done; you are just making your home as inviting as possible for the buyers, so they are just as excited as you are for closing day.
Keep Learning About Home Selling Make Sure You Get to the Final Walkthrough

After all the work done to get your home listed and into a contract, the final walkthrough is a breeze. If you read through this final walkthrough guide, you have what you need to be prepared for this final step! However, as with every aspect of selling a home in Seattle, it’s good to work with someone who has done it many, many times. Get an experienced team like Team Diva on your side to walk you through it the entire process—not just the final walkthrough of your home!
We are here to help. Our team understands that this process can take a year or two. And we are more than willing to give you a personalized plan to get the ball rolling. Feel free to contact us directly at thediva@teamedivarealestate.com or call/text 206-271-0264.