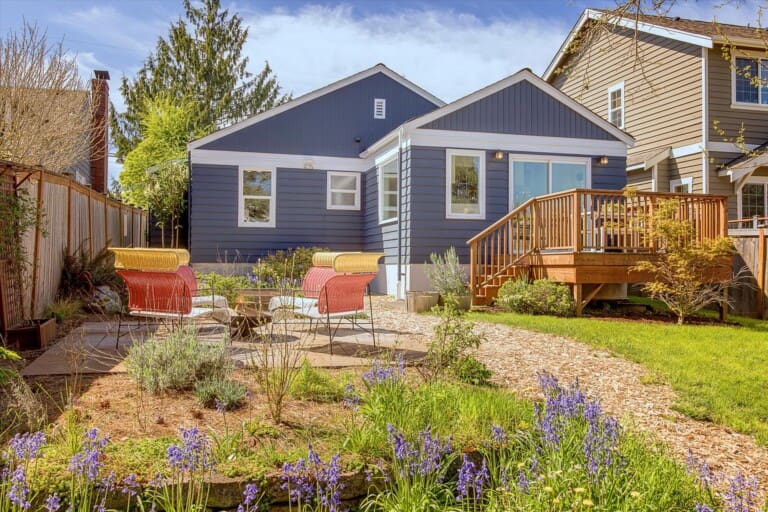
The days are getting shorter, colder and your yard is beginning to go into its fall/winter hibernation. Many of your plantings will take care of themselves, so aside from having to clean up those leaves (we will get into this later), fall yard work can be fairly basic. If you want a simple easy way to add beauty to your garden once Spring rolls around then its time to plant some bulbs!
Spring bulbs have been on sale for a couple of months at garden centers around town and online. Planting bulbs now means come Spring, your gardens will be popping with colorful flowers that may last into early summer and for seasons to come!
When choosing bulbs look for ones that grow well in our region, as well as satisfy your aesthetic needs. Most of the bulbs you find on sale around town, such as crocuses, tulips and daffodils, should work well in our climate as long as you follow the directions for planting them. Or try planting some less popular but equally as stunning flowers like Checked Lily or Windflower. Annuals only grow once, perennials will return for several years and naturalizing bulbs will not only return, but multiply.
What you will need:
- Bulbs
- Shovel, spade, gardening trowel or specialized bulb planter (so many choices, take your pick!)
- Garden space to dig up to 8″ down (varies based on the type of bulb)
- Gloves (if you don’t like to get your hands dirty)
- Fertilizer and or mulch (optional)
Step 1: Plan – Decide how you want to plant your bulbs based on their height, when they bloom, and where they will get the best drainage and sun come spring. Make sure you do this well before the first frost (6 weeks or so prior is best).
Step 2: Dig – Grab your gardening tool of choice, bulbs for each spot and dig to a proper depth! Each variety will vary in its needs so make sure you read the instructions carefully. Always make sure you plant the bulb with the pointed end facing up – that’s the plant/flower! Allow for spacing in each hole as necessary.
Step 3: Cover – Lightly cover the bulbs using the soil you dug out. Don’t pack them in tightly, nautre will do what it needs with watering/rain and so on to make sure they’re all secure. Just make sure they’re properly covered so they’re safe and sound in the ground.
Step 4: Water/Fertilizer – if the ground is dry, give your bulbs a good watering to get them on their way. The weather as of late is already wet so that may not be as necessary. Fertilizer for flowering bulbs is recommended but not necessary and you will want to sprinkle that on the top of the dirt covering the bulbs. Mulch using shredded/fallen leaves or another nutrient rich organic material – perfect way to reuse whats falling for the winter!
Step 5: Enjoy some cocoa, a cocktail or whatever you desire indoors while those bulbs get to work rooting and preparing for spring.
That’s our Diva Fall Tip on planting bulbs for blooming Spring. If you need more advanced help with your garden or some landscaping advice – don’t hesitate to contact the Divas. We may not be garden experts but we know folks who are and will happily pass on their information. Happy planting!
A photo posted by Lanoha Nurseries (@lanoha_nurseries) on


